This is a researched guide, based on published product information and practical planning. It is not a hands-on product test. Check the exact model and its current instructions before buying.
Decide what belongs in this cabinet
Remove the contents and make three groups: products in current use, unopened replacements, and items to relocate. Keep the daily group limited to things whose storage directions and normal use suit this location. A spare patch of cabinet floor is not a reason to move unrelated belongings into the bathroom.
Count duplicates while everything is visible. In a shared bathroom, identify whose products are whose. Each person should be able to find current items without opening the backup collection.
Choose an everyday kit with a defined job
A small kit can hold one routine, such as the hair-care products you bring to the mirror. Another household may prefer a separate kit per person. Pick the arrangement that reflects who reaches into the cabinet and what they take out together.
Keep tall bottles upright where their instructions permit, with labels readable. Leave enough room to grasp the contents or the kit’s handle. If you usually need only one item, a shallow open tray may be more convenient than lifting a large caddy loaded with everything you own.
Put backups together and set a refill rule
Use a separate removable bin for spare supplies. Label it by function or person if that resolves confusion. Keep the unopened package information intact and follow each product’s storage directions rather than decanting replacements into unidentified containers.
Write a simple refill note: what is in use, how many replacements you intend to keep, and when to add the item to your shopping list. For example, one household might buy toothpaste when its last spare moves into daily use. Choose the limit for your routine; the bin should not decide how much you stockpile.
Protect the route to the plumbing
Identify the shutoff controls, drain connections, and other fixed parts before positioning the groups. Reserve a clear route to reach them, wherever they sit in your cabinet. Do not assume the center is the only area that needs to remain accessible.
Place the daily kit and backup bin so each can come out independently. Avoid stacking a heavy backup box behind several unrelated items. Rehearse clearing the cabinet: you should know what to lift first without moving or pressing against pipes, hoses, or fittings.
Compare removable bins before adding a fixed frame
A removable container lets you change the grouping without committing the whole cabinet to a drawer system. Compare low trays, handled bins, and divided caddies by the items they will hold. Check the assembled outside size, usable interior, and loaded lifting weight.
IKEA’s UPPDATERA box is a concrete narrow, handled example: the cited version is 5 inches wide, 19 3/4 inches deep, and 4 inches high, with a stated 7-pound maximum load. Its depth could rule it out for a shallow vanity even though its width looks promising. The optional slider is sold separately and introduces its own installation requirements.
Try a two-group layout before buying a set
If there are clear pockets beside the drain, try the everyday kit in the easier pocket and reserves in the other. Elsewhere, two short front bins may work better. Use real contents to check whether one group blocks the other.
Leave a place for returning the kit without rearranging bottles. If the backup group overflows, review the quantities and category boundaries before adding another level. A matching multi-piece set is useful only when each piece has a job and can be removed as intended.
Make the restocking check part of the routine
When you move a replacement into use, update the refill note and check the rest of that category. Return misplaced daily products to their own group instead of letting the reserve bin become a general overflow basket.
Take the containers out periodically so the cabinet floor and plumbing remain visible. Follow the organizer’s care directions: IKEA specifies wiping the cited UPPDATERA box with a damp cloth and mild cleaner, then drying it. The layout is working when restocking, putting things away, and clearing the cabinet all remain straightforward.
Compare a researched example
Use the guide to check your space, then compare the exact product's measurements and limitations.
Our linked product picks include paid Amazon links. We may earn a commission if you buy through those links.
A quick visual checklist
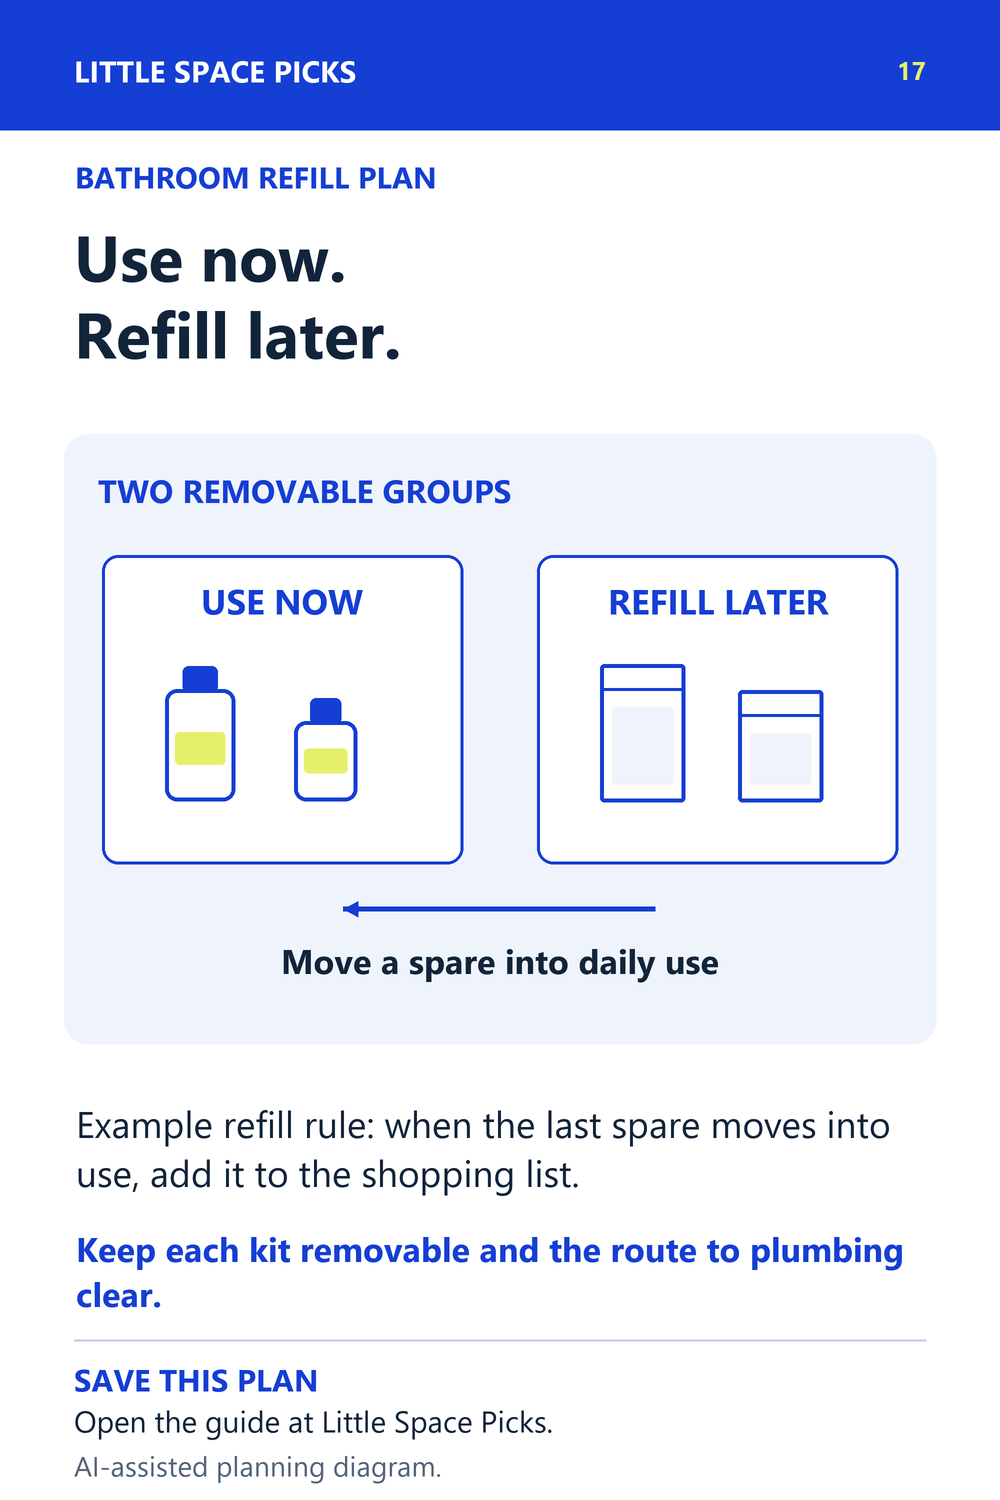
An original Little Space Picks planning diagram. Download the checklist.
Sources & further details
Sources checked October 4, 2026. Model details and installation guidance can change.