This is a researched guide, based on published product information and practical planning. It is not a hands-on product test. Check the exact model and its current instructions before buying.
Measure the outside rim of every regular pan
Gather sheet pans, roasting trays, muffin tins, and cutting boards that might share the space. Measure the outer length, width, and deepest projection, including rolled rims and handles. The cooking surface measurement printed in a pan's name may not describe its outside storage shape.
Put the most-used flat trays in one group. Keep deep roasting pans and occasional specialty tins separate until you know they benefit from the same arrangement. Do not buy a large divider rack merely because every metal item could theoretically stand in it.
Choose which edge rests on the cabinet floor
Try the largest pan on each edge. With its long edge running front to back, the cabinet needs that full depth, while the shorter side determines standing height. Rotating the pan trades those requirements; it does not remove either of them.
For a hypothetical 18-by-13-inch pan, a 19-inch-deep space may accept the long edge. If the clear height is 13¼ inches and the proposed support raises the pan by half an inch, the loaded height becomes 13½ inches and fails. Measure the support height rather than estimating it from a product photograph.
Check the cabinet opening before adding dividers
Place the pan in the proposed orientation without a rack. Pull it forward past the shelf lip, frame, hinge, and adjacent door. Then try it with another pan beside it. A tray that requires a large sideways tilt may need more open width than its thin profile suggests.
Keep the grip edge visible. A front-to-back row is less useful if the pan you want sits behind another broad tray. Where the cabinet has a center divider, assess each opening independently rather than treating the whole cabinet as one wide entrance.
Use rack dimensions as the starting point
YouCopia lists its current StoreMore Bakeware Rack with seven adjustable dividers and dimensions of 11.6 inches wide, 7.4 inches deep, and 6.4 inches high with dividers inserted. The rack's height is not the loaded height of your pans. Its base depth also does not shorten a tray extending beyond it.
Set divider gaps around the widest rims and handles, not just the flat metal centers. Follow the model's setup instructions so dividers are properly seated. YouCopia specifies hand washing with lukewarm water and mild soap for this model and says it is not dishwasher safe.
Keep nesting where it is already useful
Identical spare pans may take less room nested together, while one frequently used tray deserves its own slot. Try that mixed arrangement before assigning every item a separate position. Keep cutting boards elsewhere if their handles or thickness force the whole row farther apart.
Skip a vertical rack if the cabinet cannot provide the loaded height or a straightforward removal path. It is also unnecessary when a small nested set is easy to lift. Test with clean, dry, cool pans during an ordinary kitchen reset, and confirm the arrangement stays easy to use when one slot is empty.
A quick visual checklist
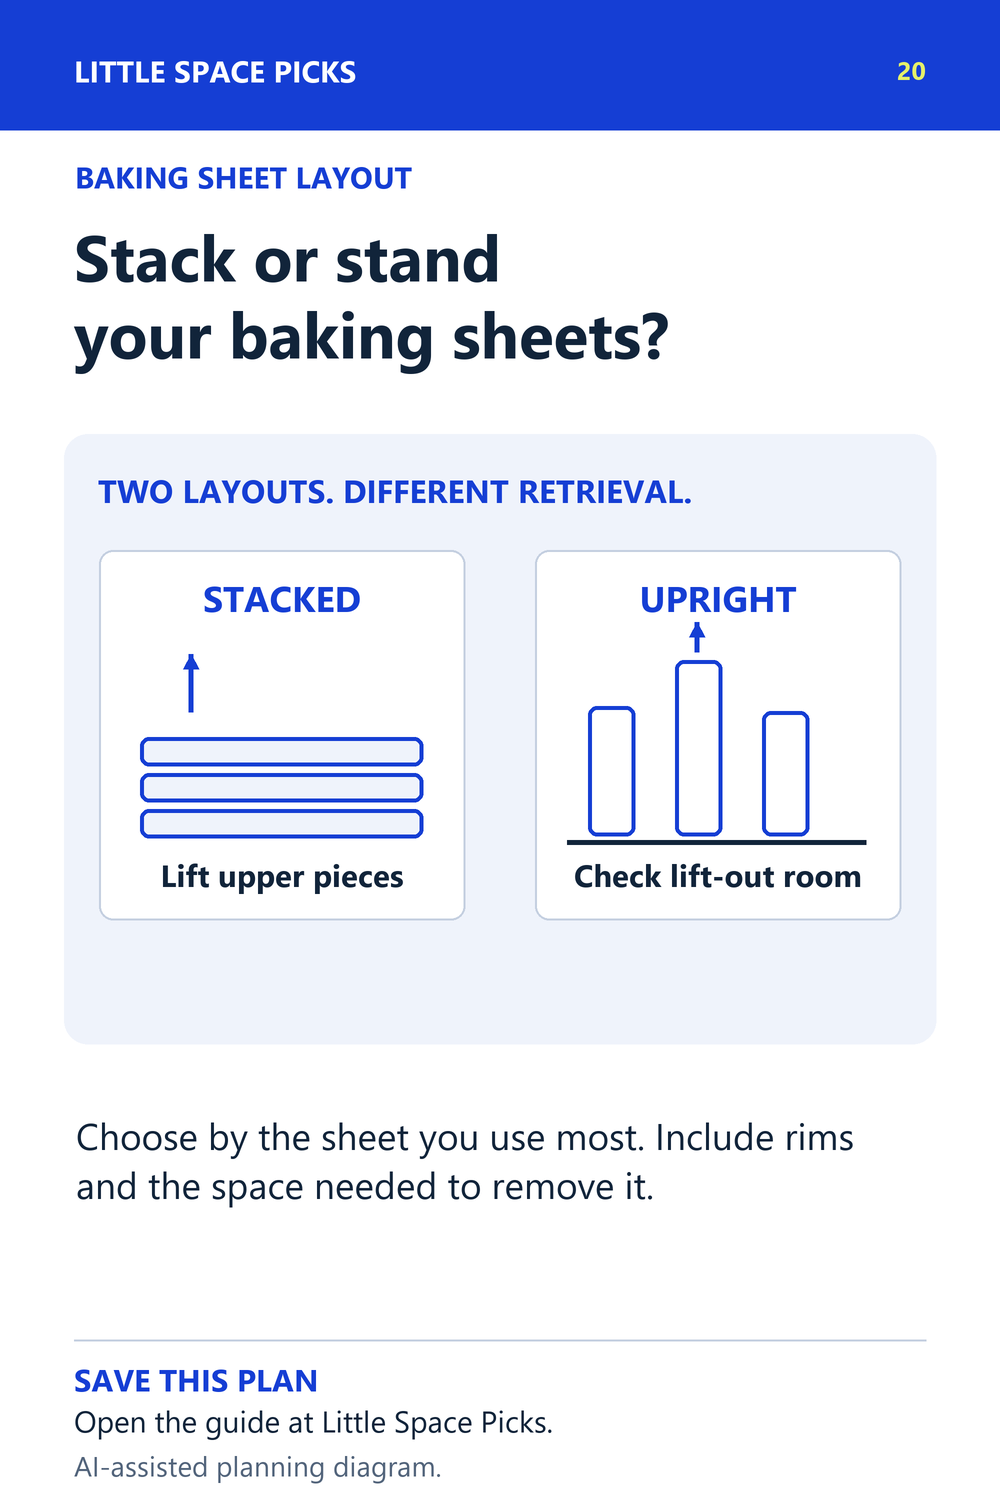
An original Little Space Picks planning diagram. Download the checklist.
Sources & further details
Sources checked October 5, 2026. Model details and installation guidance can change.