This is a researched guide, based on published product information and practical planning. It is not a hands-on product test. Check the exact model and its current instructions before buying.
Map three separate spaces
Empty the cabinet and sketch a top view. Mark the opening, hinges, drain, supply lines, and anything fixed to the floor or wall. Measure the left and right sides independently; they may offer different usable widths. Then measure from the floor to the lowest obstruction above each side.
Finally, check the doorway. A basket can fit inside the cabinet while still being too wide to enter or slide past the frame. Record the narrowest clear opening, rather than the cabinet’s outside width.
Choose a layout around what cannot move
Use the tallest clear pocket for upright bottles and the shallow pocket for short items. A removable bin often suits a space interrupted by plumbing because you can lift it out at an angle. A sliding unit needs a straight route through the open door, including clearance past its hinges.
Avoid making the center drain area a permanent storage wall. Leave an accessible route to the plumbing and shutoff controls, and do not let organizer frames press against pipes or hoses.
Compare trays, bins, and drawers
A shallow tray groups a few frequently used items without adding a tall frame. A handled bin works when you want to bring a cleaning kit to another room. A two-tier drawer makes sense only when its upper shelf clears the sink bowl and its lower drawer clears the cabinet opening.
Manufacturer fit statements can be specific. IKEA lists its UTRUSTA under-sink organizer for named cabinet systems and depths; its published dimensions alone do not establish compatibility with a different cabinet. Read the installation requirements as well as the size.
Mock up the fully loaded shape
Cut paper to the organizer’s outside footprint. Set your tallest bottles on it, with trigger heads pointing as they would in use. Hold a second piece of cardboard at the proposed upper-shelf height. This reveals collisions that a floor measurement misses.
For a sliding organizer, move the mock-up forward through the doorway. Leave enough room for your fingers to grip the basket and remove a bottle. A layout that depends on tipping every bottle sideways will be frustrating to maintain.
Keep the reset simple
Give each bin a short job: daily cleaning, spare cloths, or dish supplies. Keep original product labels readable and follow each product’s storage directions. Buy containers for the supplies you intend to keep, rather than filling every available gap.
Choose pieces you can remove for cleaning and inspection. IKEA’s care guidance for the cited UTRUSTA model calls for gentle cleaning and drying. Follow the instructions for your own organizer; a metal or plastic appearance does not tell you whether it can be soaked or put in a dishwasher.
Compare a researched example
Use the guide to check your space, then compare the exact product's measurements and limitations.
Our linked product picks include paid Amazon links. We may earn a commission if you buy through those links.
A quick visual checklist
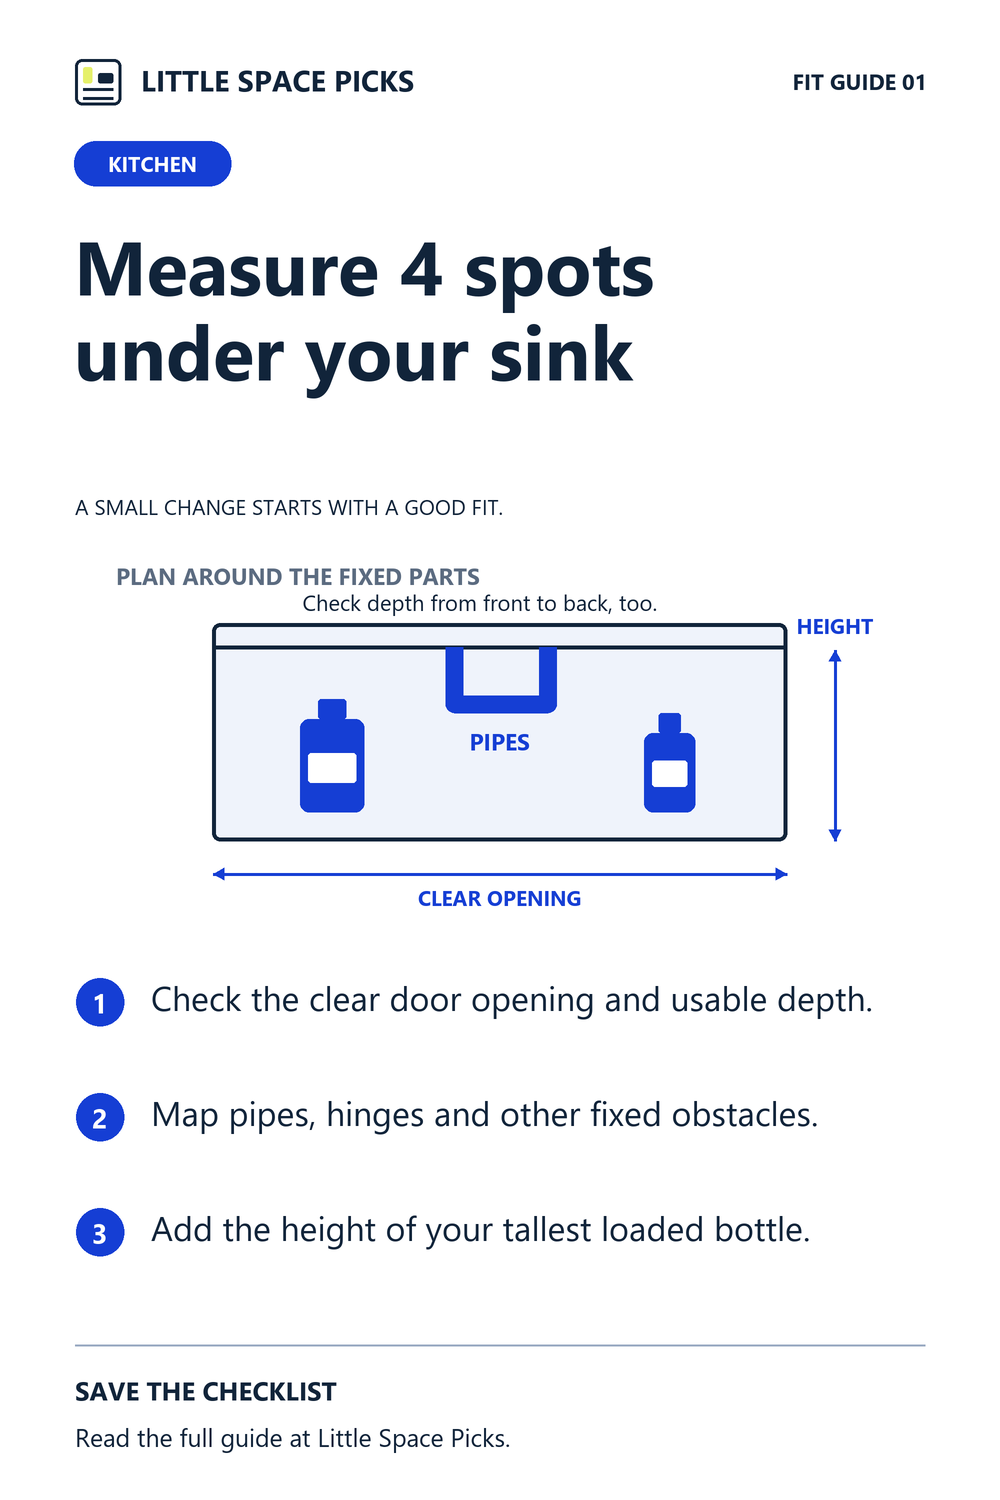
An original Little Space Picks planning diagram. Download the checklist.
Sources & further details
Sources checked October 4, 2026. Model details and installation guidance can change.