This is a researched guide, based on published product information and practical planning. It is not a hands-on product test. Check the exact model and its current instructions before buying.
Measure pairs in the way you will put them away
Choose the pairs normally worn during the current season, including the largest sneakers and tallest boots. Place each pair as you would return it and measure its combined width, heel-to-toe depth, and height. Do not treat a stated number of shoe pairs as a guarantee for your particular sizes and styles.
For a hypothetical 20-inch-wide shelf, two pairs each using 9 inches of width occupy 18 inches. Only 2 inches remain before allowing for side supports or a gap between pairs. Place the actual shoes within a paper outline; turning one shoe may change the arrangement, but retrieval still needs to be easy.
Trace the entrance with the door open and closed
Mark the proposed storage footprint on the floor, including any shoe toes extending beyond an open shelf. Slowly open the entrance door through its normal movement. Check the handle as well as the lower edge, and consider a nearby closet door that might open at the same time.
Walk through with the bag, laundry basket, or other bulky item you commonly carry. Keep the normal entrance and exit route clear. A rack that fits against the wall can still be poorly placed if someone must step over shoes to reach it or move it every time the door opens fully.
Compare closed depth with the space needed to use it
A closed shoe cabinet can present a shallow face to the room, but its compartments need room to open and your hand needs room to remove a pair. Get the manufacturer's open-position information or inspect the movement directly. Do not estimate that clearance from the closed-depth number.
For example, IKEA lists a TRONES cabinet as 20½ inches wide, 7⅛ inches deep, and 15⅜ inches high. The 7⅛-inch depth does not establish its open projection or usable interior dimensions. Its listed outside measurements also do not prove that a particular boot or long shoe will fit inside.
Calculate the whole arrangement before adding another level
Check the usable vertical gap on open shelves, including the thickness of each shelf and any crossbar above the shoes. A taller rack does not necessarily provide taller individual openings. Keep boots in an appropriate separate position when removing a shelf would crowd the rest of the collection.
IKEA permits TRONES units to be combined vertically or side by side and requires the cabinets to be secured to the wall with suitable fasteners. Two listed cabinet heights add to 30¾ inches, before considering the installation position and other clearances. Confirm the complete mounting instructions and permission to attach the units before planning a stack.
Keep the daily reset smaller than the whole collection
Give current everyday pairs the easiest positions and keep occasional footwear elsewhere. Leave an intentional landing spot for the pair being worn, so a temporarily empty shelf does not get filled with unrelated items. Choose a layout whose shelves or compartments remain accessible for cleaning.
IKEA's TRONES care instructions call for a soft damp cloth, mild detergent or soap if needed, and wiping dry. Follow the directions for your own storage. Skip a larger organizer if rotating out unused seasonal pairs solves the crowding. Also skip any cabinet that cannot meet its mounting requirements or an arrangement that interferes with the doorway.
A quick visual checklist
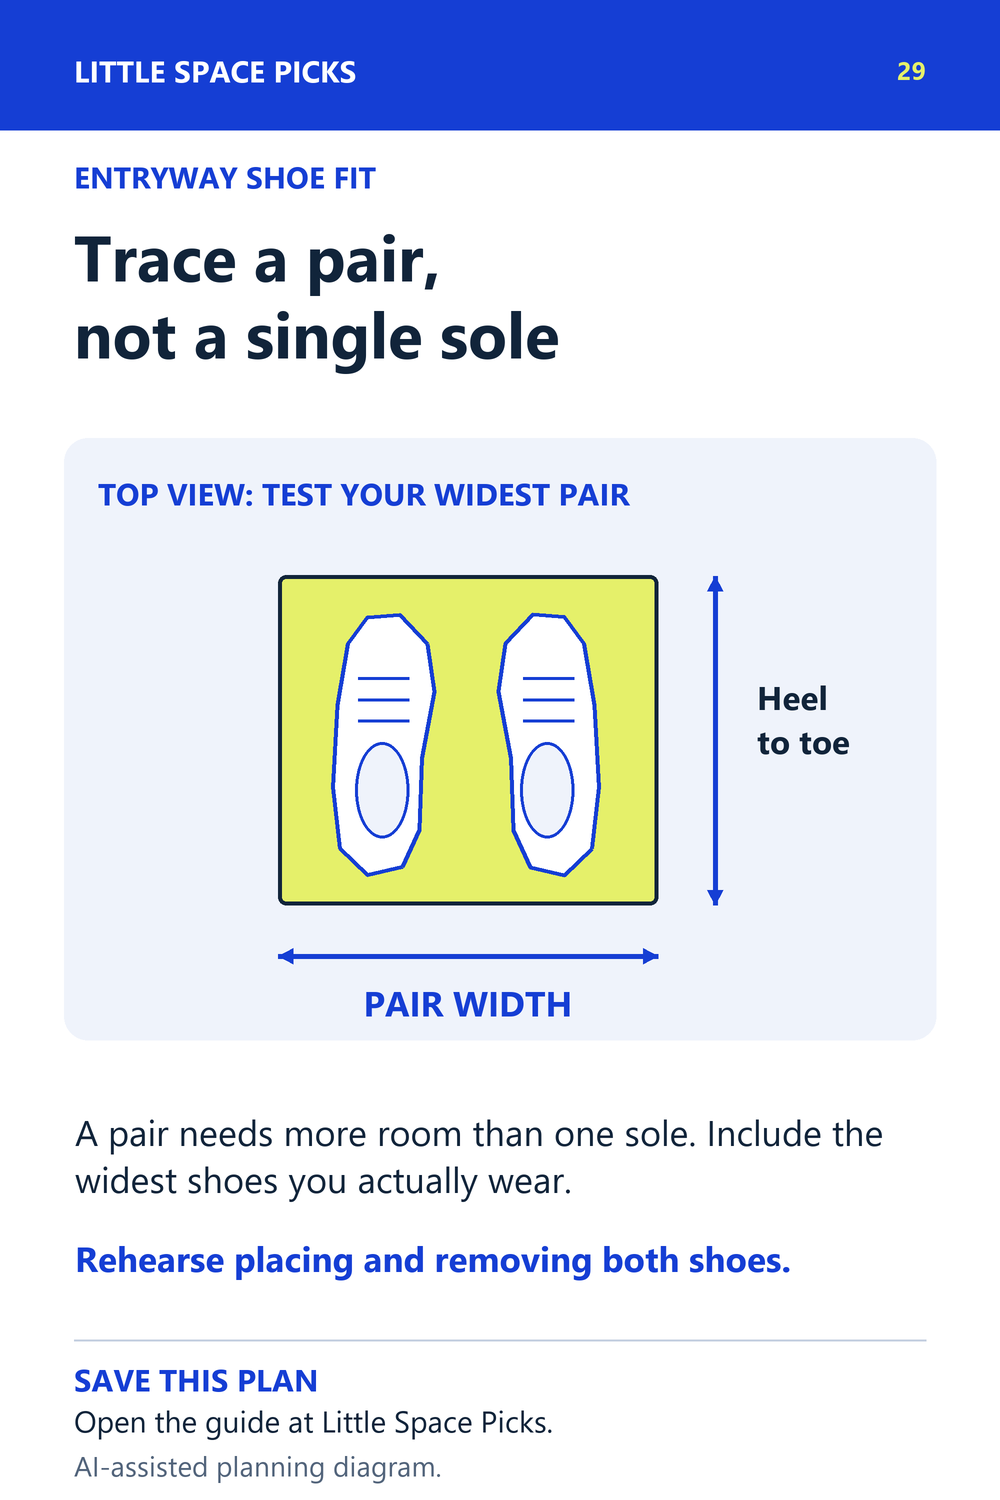
An original Little Space Picks planning diagram. Download the checklist.
Sources & further details
Sources checked October 5, 2026. Model details and installation guidance can change.