This is a researched guide, based on published product information and practical planning. It is not a hands-on product test. Check the exact model and its current instructions before buying.
Start with the lids you can identify
Set the lids beside their matching pots. Separate cookware lids from food-container lids, which usually need a different arrangement. If a lid fits more than one pan, decide where you will look for it first.
Measure the largest diameter and the deepest protruding knob or handle. A slim-looking lid can need a wide slot once its handle is included. Note any unusually domed lids rather than expecting every lid to occupy an equal amount of room.
Choose paired or shared storage
Paired storage works when a pot and its lid already occupy a convenient shelf position. It avoids searching a second area, though it can complicate nesting. A shared lid rack is worth considering when you frequently remove several lids to reach one pan.
Keep your most-used lids near the cookware they serve. Moving them to a distant cabinet just because a rack fits there may make the kitchen feel less convenient. Plan around cooking and putting dishes away, not only around an empty shelf.
Test upright clearance with a real lid
Hold the largest lid upright where the rack would sit. Include the height of the rack base and any required tilt when removing the lid. Check whether the cabinet door, shelf above, or drawer frame blocks that movement.
For a drawer, check the closed position as well as the open one. Lids leaning at an angle can project above the drawer sides. A rack that fits when empty may become too tall once the handles and rims are loaded.
Decide between fixed and adjustable slots
Fixed slots offer a predictable footprint, but you need enough spacing for thick handles. Adjustable racks allow you to allocate more room to selected lids, although the complete loaded arrangement still has to fit your cabinet.
IKEA describes its VARIERA pot lid organizer as adjustable in length. The useful lesson is to compare the rack in its working position with your space, rather than buying from the collapsed size. Check the current product diagram and assemble it according to the included instructions.
Keep the row easy to use and clean
Place a heavy or awkward lid where you can grasp it securely without reaching over another one. Test removing each lid without pulling its neighbors out of position. Do not force a handle into a slot that pinches or catches it.
Keep the rack accessible enough to lift out for cleaning, and follow the care directions for its materials. IKEA recommends a damp cloth with mild cleaner and then drying for the cited rack. Revisit the arrangement when you replace cookware; an organizer chosen for thin metal lids may need a different configuration for deep glass lids.
Compare a researched example
Use the guide to check your space, then compare the exact product's measurements and limitations.
Our linked product picks include paid Amazon links. We may earn a commission if you buy through those links.
A quick visual checklist
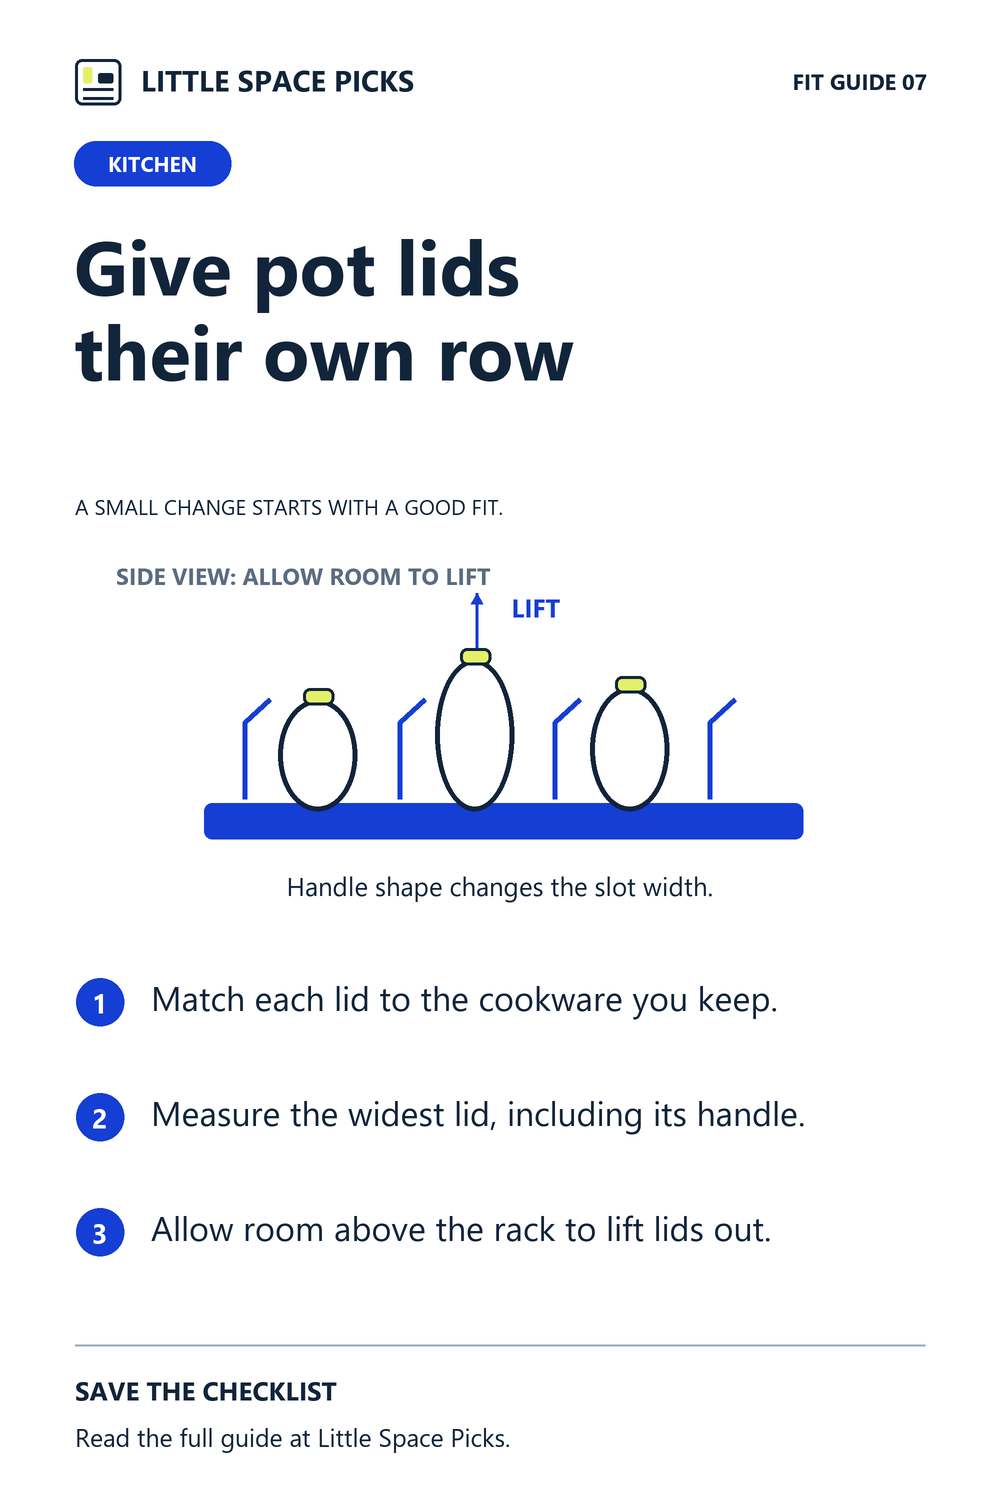
An original Little Space Picks planning diagram. Download the checklist.
Sources & further details
Sources checked October 4, 2026. Model details and installation guidance can change.