This is a researched guide, based on published product information and practical planning. It is not a hands-on product test. Check the exact model and its current instructions before buying.
Start with one category of items
Pull out the group you want to organize. Separate upright bottles and jars from flat packets, loose accessories, and boxes. Notice whether you usually select one item or carry the entire group to the counter.
A collection of individual condiments may suit a rotating tray. A baking kit used together may suit a handled bin. These are starting points, not universal rules: the size of your cabinet and your ability to see the contents matter just as much.
Give a turntable its full circle
A circular organizer needs room for its outside diameter and enough clearance to turn without catching nearby objects. Check whether protruding bottle handles or lids extend beyond the tray. Keep the hinge area in mind, especially in a narrow cabinet.
OXO lists its 11-inch turntable at 11 by 11 by 1.5 inches and describes a raised ledge and nonslip feet. Those features do not remove the need to test clearance with your own bottles. Compare the outside measurement with your usable shelf depth and opening.
Account for the center and the corners
A turntable creates a rotating circle inside a rectangular shelf. The corners remain outside that circle. Avoid treating those corners as places for loose items that might interrupt rotation.
The center also deserves a plan. If taller bottles around the edge hide a short item in the middle, you may still need to move several pieces to reach it. A paper circle on the counter is enough to test a layout before buying.
Use a bin when the group should move together
A rectangular bin can line up with other bins and use a long, narrow shelf section. Check its interior base dimensions for your contents and its outside dimensions for the cabinet. Tapered walls and projecting handles can make those measurements noticeably different.
Test the pull-out motion. A bin that holds tall items may have to travel fully beyond the shelf above before you can lift a bottle out. Leave space in front of the cabinet to support the bin, and avoid loading it more heavily than you can comfortably handle.
Make the final choice with a rehearsal
Place the real items inside a paper rectangle and then a paper circle. Rehearse finding your most frequently used item in each arrangement. Choose the version that needs fewer awkward movements, even if the other looks more symmetrical.
You can use both formats on the same shelf when each has a clear job. Leave separation between the rotating area and the stationary bin. Keep labels facing the position where you view them, and resist filling a newly organized shelf immediately; a little spare room makes additions and routine cleaning easier.
Compare a researched example
Use the guide to check your space, then compare the exact product's measurements and limitations.
Our linked product picks include paid Amazon links. We may earn a commission if you buy through those links.
A quick visual checklist
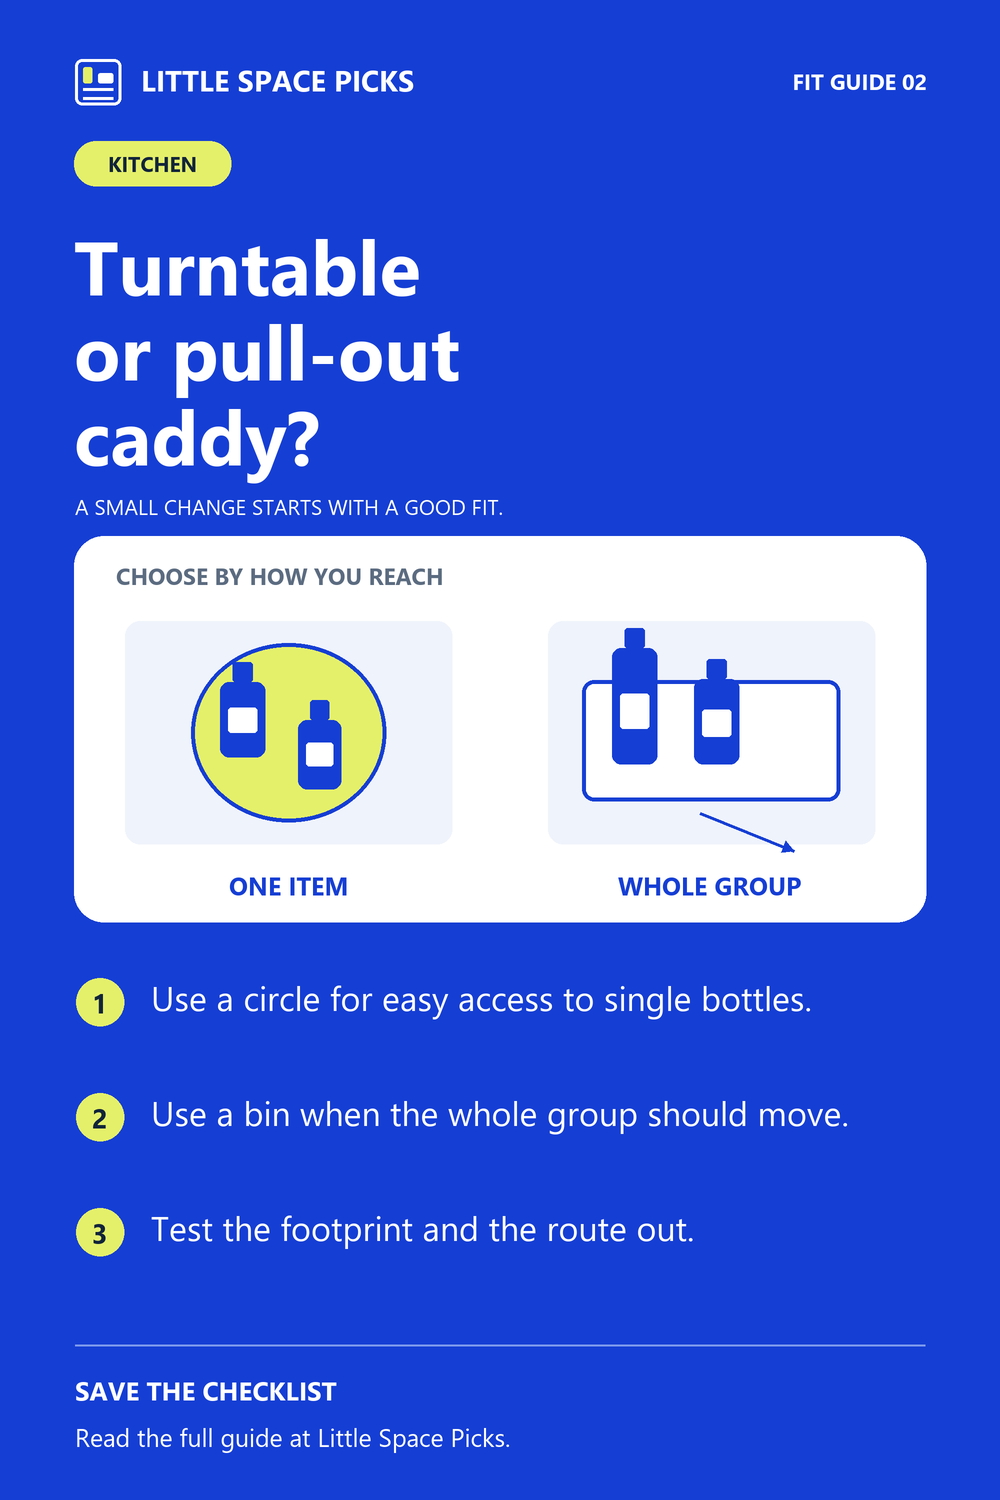
An original Little Space Picks planning diagram. Download the checklist.
Sources & further details
Sources checked October 4, 2026. Model details and installation guidance can change.