This is a researched guide, based on published product information and practical planning. It is not a hands-on product test. Check the exact model and its current instructions before buying.
Start with the bottles used in one normal week
Bring bottles, travel mugs, lids, and straws together. Match each lid to its bottle, then separate daily choices from occasional sports, travel, or guest bottles. Give the daily group the easiest shelf or drawer. A large rack is unnecessary if most of its positions would hold bottles you rarely choose.
Measure the tallest assembled bottle and the widest shape, including a side handle or carrying loop. Liquid capacity does not tell you the outside dimensions. Two bottles holding the same amount can need very different spaces.
Choose an orientation before choosing a rack
Upright storage suits a small collection when every bottle is visible from the front. A deep drawer can provide a similar view, provided its true closed clearance is tall enough. Horizontal storage can separate bottles into rows, but you must allow for their full length and reach the lower rows without moving the rack.
For a hypothetical example, a bottle measuring 10¾ inches from base to closed lid cannot stand in a drawer with 10 inches of clear height. Laying it down changes the limiting measurement: the drawer now needs room for that 10¾-inch length, its widest diameter, and your hand.
Measure the loaded shape, not just the frame
YouCopia lists its UpSpace 12 Bottle Organizer as 16.6 inches wide, 7.2 inches deep, and 11.7 inches high, with adjustable shelves for bottles up to 4 inches in diameter. Those are specific model details, not a promise that every handled tumbler fits.
A long bottle can extend beyond a rack's shallow base. Mark the proposed rack footprint on paper, then position your longest bottle where it would rest. Check the door, back wall, shelf above, and handle orientation. Leave the bottle in place while you check the neighboring position.
Give loose parts a small, visible home
Use a shallow compartment beside the bottles for matching lids, with straws laid where their full length fits. Avoid a deep communal cup that hides the pieces needed for tomorrow's bottle. Label by bottle owner or model only if that actually prevents mix-ups.
Return bottles and parts after cleaning and drying according to their own care instructions. An organizer is a storage location, not automatically a drying rack. Check its care directions separately: YouCopia specifies hand washing for the cited organizer and says it is not dishwasher safe.
Rehearse the morning routine
Remove your most-used bottle, retrieve its lid, and put another bottle back. Repeat with the largest handle and with the bottom row. If the routine requires taking the entire rack out, try changing the shelf position or reducing the daily group before buying more storage.
Skip a rack when three or four bottles already stand in one accessible row. Also skip it if the only available position hides the loose parts, blocks the door, or requires awkward overhead lifting. The simplest working arrangement deserves to keep its space.
Compare a researched example
Use the guide to check your space, then compare the exact product's measurements and limitations.
Our linked product picks include paid Amazon links. We may earn a commission if you buy through those links.
A quick visual checklist
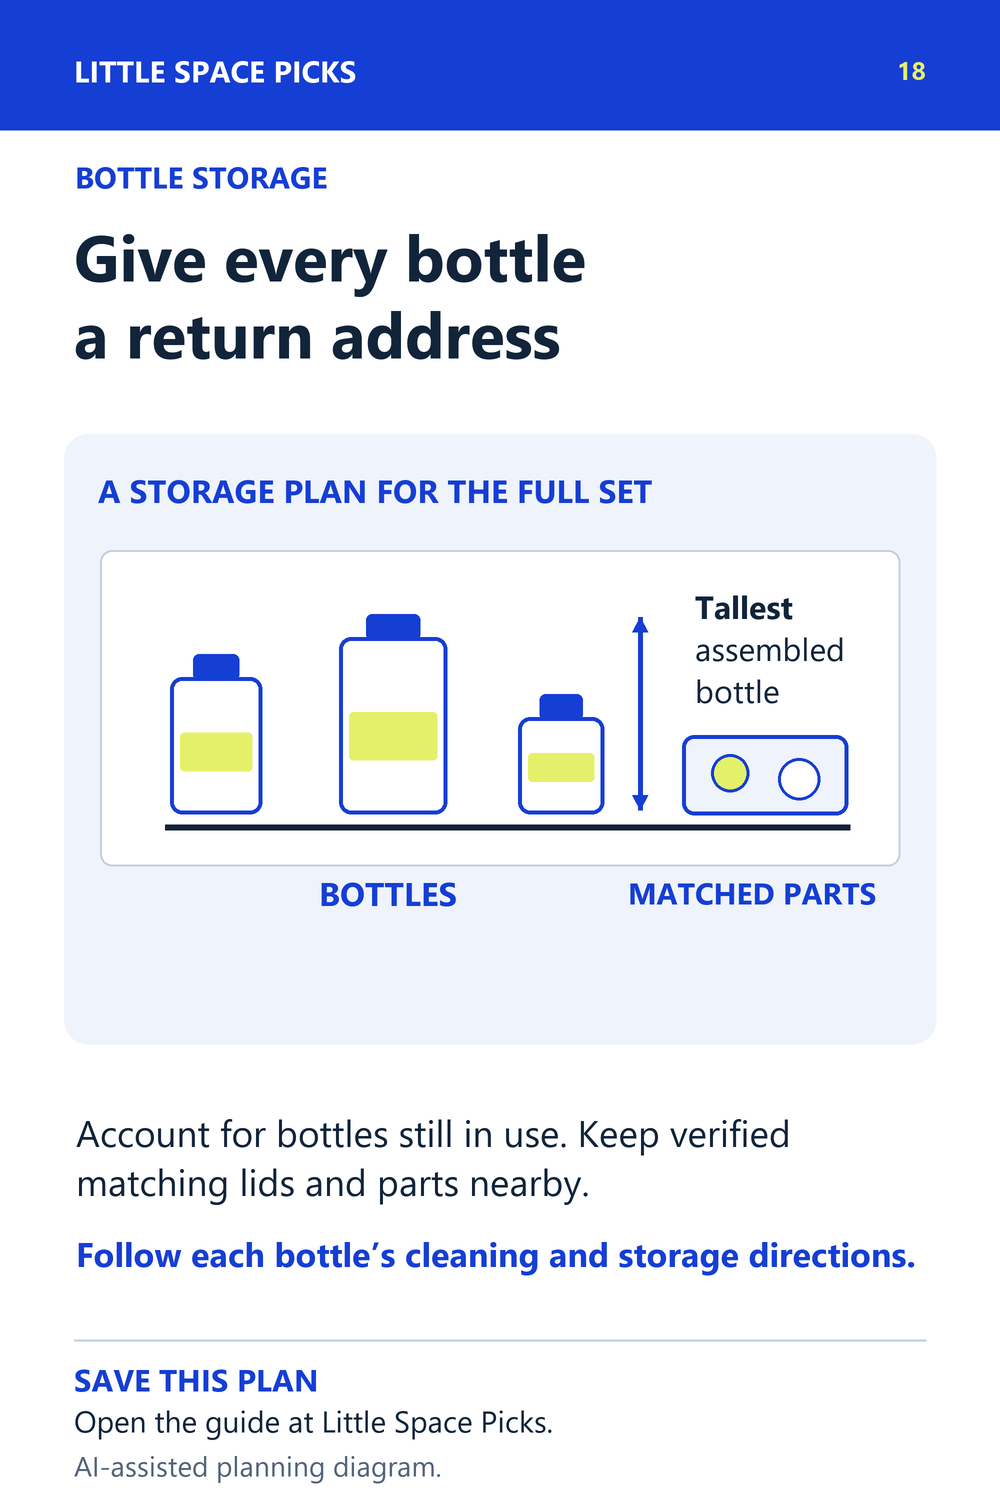
An original Little Space Picks planning diagram. Download the checklist.
Sources & further details
Sources checked October 5, 2026. Model details and installation guidance can change.